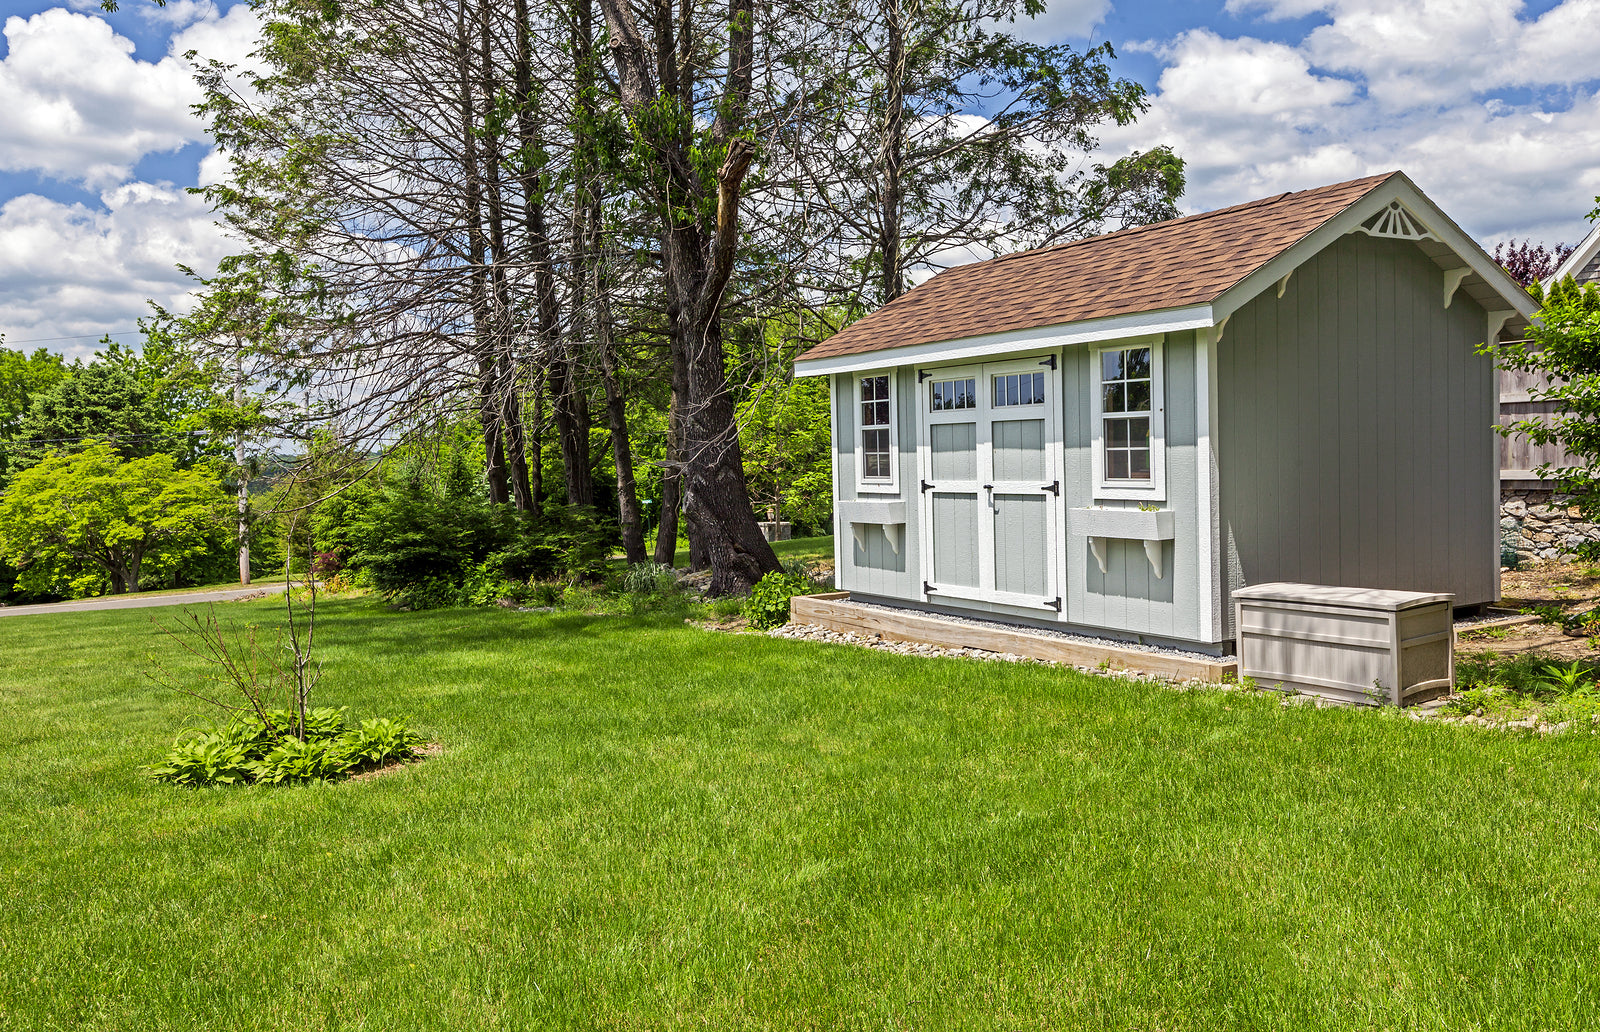
From planning and design to construction and materials, we'll walk you through every step of the process to help you create a beautiful shed.
Step 1: Build Your Foundation
This step of the gameplan discusses types of the most popular foundations for a shed. These foundation types are concrete slab, concrete piers, concrete block base, and patio stones.
Concrete Slab:
A concrete slab is an excellent foundation for a backyard shed. It is a strong, permanent foundation with a smooth floor on which to build a shed. Slabs do an excellent job of resisting the forces that frost puts on a shed. Slabs require a compact gravel pad underneath, with a stable soil underneath the gravel.

Pouring a concrete slab
Tools
- Rope, carpenter’s square, sledge hammer, tape measure, mason’s string, line level, spade, sod cutter, straightedge, level, wheelbarrow, shovel, hand tamper, circular saw, drill, paintbrush, concrete finishing tools, stiff-bristled broom.
While it depends on the purpose and needs of your shed we recommend pouring a 6” slab for your project. Quikrete’s concrete calculator will help you to estimate the required amount of concrete for your project.
Prepare the Site
- Measure the slope: It is best to install your shed on flat level ground. The first step in preparing your site is to determine if you need grading work. Drive a stake at each end of the project area and, using a line level, tie a mason’s string between the two stakes. At each stake measure the height of the string from the ground. The difference between the measurements will give you the slope of the area; if the slope is greater than 1” you should re-grade the site.
- Dig a test hole: to evaluate the soil conditions dig a test hole to the planned depth. Sandy or loose soil may require amending and hard soil or clay will require extra effort during excavation.
Lay Out & Excavate the Site
- Lay out a rough outline: Using a rope or string, stakes and a carpenter's square (to set perpendicular lines), create a rough layout by driving wood stakes near each corner. Where possible, use two stakes set back at least 1’ from each corner of the project area so the strings intersect at the corner.
- Use Mason’s String to define the project area: Connect the stake’s using the mason’s string to follow the actual project outlines and to ensure the strings are square using the 3-4-5 rule. You may need to adjust the location of the stakes and re-check the 3-4-5 rule. This can be a lengthy process, but it is very important to the success of the project.
- Ensure the Mason Lines are level: Using your line level adjust the strings up or down until they are level. Make sure the strings are contacting each other where they intersect at the corner of your project area; this will ensure that they will be at the same height relative to the ground.
- Slope Mason Lines to allow for water runoff: Most concrete surfaces should have a slight slope, especially if they are near your house. To create the slope lower the mason lines at one side of the project. A good rule of thumb is to create a slope of ⅛” per ft.
- Start excavation: If you wish to reuse the sod, use a sod cutter and lay the sod in its new location as soon as possible. Otherwise use a square-end spade to cut away sod, and strip at least 6” beyond your string lines. You may need to temporarily remove the strings for this step. Using a story pole as a guide will help to ensure that your depth is consistent across the string line. A straightedge and a level will help ensure that the center of your excavation is at the right depth. The depth of excavation needs to account for the compacted sub base and the thickness of your finished slab (For example if using 2x6 forms, dig to 9-½” deep; 5-1⁄2'' for the 2x6, and 4” for the subbase).
- Lay a subbase: Add gravel subbase and tamp/compact until the gravel is even and compressed to a 4” depth.
Build and Install Patio Forms
- Build a form or frame using 2x6 lumber: Ensure that the inside measurements of the frame match your final finished pad dimensions.
- Set the form boards in place: Use the mason string as a reference. Then position the boards so the edges are below the string-line.
- Stake your forms: Use stakes of at least 12” long to support your frame every 3 feet on the outside of the forms and at any joints in form materials. Attach the stakes to the forms using deck screws to ensure the materials do not shift.
- Cover your forms: It is recommended you coat the inside of the forms with a material to ensure concrete does not bond to your form. You can use a vapor barrier, a release agent, or even vegetable oil to prevent the concrete from bonding to your forms.
Pour & Finish Concrete Pad
- Install reinforcement: It is suggested that you reinforce the concrete pad with rebar or wire mesh raised with bolters to prevent resting at the bottom.
- Mix and pour: Following manufacturer's instructions - mix water and concrete mix. Pour into form.
- Screed concrete: Use a 2x4 in a sawing motion to level and remove excess concrete so that form is full and level to the top with concrete.
- Float the surface: Use a float to create a surface that is both smooth and skid resistant.
- Allow concrete to cure: Again follow the manufacturer’s instructions to ensure the concrete pad has enough time to set and cure before you begin building your shed.
How to Pour & Finish Concrete
Concrete Piers:
When completed properly, a pier-based foundation can be just as sturdy as a concrete slab. This is a strong foundation as it is anchored into the ground with concrete, but can also be expensive and has a higher level of difficulty than most DIY-ers are comfortable with.

Using Concrete Piers and a Wooden Base
Tools- Digging tools, level, bucket, gravel, handsaw, string, line level, stakes, hammer, marking paint.
Prepare the Site
- Measure the slope: It is best to install your shed on flat level ground. The first step in preparing your site is to determine if you need grading work. Drive a stake at each end of the project area and, using a line level, tie a mason’s string between the two stakes. At each stake measure the height of the string from the ground. The difference between the measurements will give you the slope of the area; if the slope is greater than 1” you should re-grade the site.
- Dig a test hole: to evaluate the soil conditions dig a test hole to the planned depth. Sandy or loose soil may require amending and hard soil or clay will require extra effort during excavation.
Lay Out Base Area
- Lay out a rough outline: Using a rope or string, stakes and a carpenter's square (to set perpendicular lines), create a rough layout by driving wood stakes near each corner (where possible use two stakes). Set back at least 1’ from each corner of the project area so the strings intersect at the corner.
- Use Mason’s String to define the project area: Connect the stake’s using the mason’s string to follow the actual project outlines and to ensure the strings are square using the 3-4-5 rule. You may need to adjust the location of the stakes and re-check the 3-4-5 rule. This can be a lengthy process, but it is very important to the success of the project.
- Ensure the Mason Lines are level: Using your line level adjust the strings up or down until they are level. Make sure the strings are contacting each other where they intersect at the corner of your project area; this will ensure that they will be at the same height relative to the ground.
- Mark pier locations with Marking Paint: Based on shed platform size, use marking paint to mark pier locations at the 4 corners of the base and supporting header joist spans at a maximum of 6’.
Construct Concrete Piers
- Ensure a proper footing: Sheds and other permanent structures require footings made from structural strength concrete mixes. It is important to check local building codes including minimum diameters and depths of footings. Footings must extend below the frost line to prevent shifting during freeze-thaw cycles.
- Dig footing holes: It is recommended that footing holes are dug at least 6” deeper than required for the concrete by code to allow for a drainage bed.
- Fill with gravel: Fill the bottom of the hole with 6” of gravel and use a 2x4 or wood post to compact the gravel.
- Cut form to length: Measure and mark the form (sono tube or quik-tube) for the hole depth and use a handsaw to cut the tube to length.
- Place form in hole: Place the form in the hole and level the form, it will be easier to level using the uncut end of the form for the top of the footing.
- Add concrete mix: Mix the concrete based on manufacturer’s recommendations and add concrete to the form. Once the form is half filled, use a piece of rebar or a shovel to eliminate any voids or air pockets. Add mix until the form is overfilled slightly, and eliminate voids and air pockets from the top half. Finally level the surface
- Add any hardware: If using any saddles or hardware add and then smooth the surface of the concrete.
- Allow concrete to cure: Following manufacturer’s specifications allow concrete to cure before placing weight on the footing.
Sub-Floor Framing
*Assuming we are using pressure-treated 2×6 joists*
- Cut the end and header joists: End joists are cut three inches smaller to accommodate for the thickness of the header joists. Header joists are the actual size of the Shed and are the components the joists hang from.
- Attach your header and end joists with 3 ½” Galvanized Nails or Treated Screws: Place the frame on top of your footing of choice and assure the sub-floor is square. Adjust the frame until you have equal distances reading on both tapes (Can be done with 1 tape measure).
- Joist spacing: With a pencil, layout your desired joist spacing either 12” or 16” on center along both of the header joists by pulling your tape measure from the same side on both header joists. With your square, transfer lines on the inner face of the header joists, then attach the correct size joist hanger by centering it on the line with the correct hanger nails for the face.
- Confirm joists are the same size: Once the frame is square, you can measure from header joist to header joist on both ends to confirm that your joists are the same size. Cut the desired number of joists to length and slide them into the joist hangers. Follow up by using 3” Galvanized nails to fill the remaining side nail holes in the hanger.
- Use ¾” T&G exterior plywood for your floor sheathing (Pressure-treated Plywood is also an option): Begin laying out your plywood so that your edges are falling halfway on the joists, laying out from one side to the other. Making sure your plywood joints are staggered and do not line up with the previous row, use 2 ½” nails or treated screws to fasten the sheathing to joists. Trim all the edges flush with the frame.
How to Build Deck Footings with Quikrete
Concrete Blocks
Using concrete blocks is an easier way to create a shed foundation. It is easier than both a slab and piers but has its drawbacks. This option is most comfortable for a DIY and is also the most cost-efficient.

Using Concrete Blocks and a Wooden Base
Tools
Digging tools, level, bucket, gravel, string, line level, stakes, hammer, marking paint.
Lay Out Base Area
- Lay out a rough outline: Using a rope or string, stakes and a carpenter's square (to set perpendicular lines), create a rough layout by driving wood stakes near each corner. Where possible use two stakes set back at least 1’ from each corner of the project area so the strings intersect at the corner.
- Use Mason’s String to define the project area: Connect the stake’s using the mason’s string to follow the actual project outlines, to ensure the strings are square use the 3-4-5 rule. You may need to adjust the location of the stakes and re-check the 3-4-5 rule. This can be a lengthy process, but it is very important to the success of the project.
- Ensure the mason lines are level: Using your line level adjust the strings up or down until they are level. Make sure the strings are contacting each other where they intersect at the corner of your project area; this will ensure that they will be at the same height relative to the ground.
- Mark block locations with Marking Paint: Based on shed platform size, use marking paint to mark block locations 6” inside the deck perimeter at the 4 corners of the base and supporting header joist spans at a maximum of 6’.
Set Deck Blocks for Foundation
- Dig holes: Deck blocks need to have a solid footing beneath them, dig a hole that is 12” deep and 24” square.
- Fill with gravel: Install 4” of Gravel at a time, tamping/compacting between layers.
- Install landscape fabric: To prevent weed growth spread landscape fabric over gravel
- Place concrete blocks: Use measurements from top of block to level string line to ensure height is consistent and platform will be level. If one block is too high, remove some gravel and if too low add some gravel; Additionally, ensure each block is level.
Sub-Floor Framing
*Assuming we are using pressure-treated 2×6 joists*
- Cut the end and header joists: End joists are cut three inches smaller to accommodate for the thickness of the header joists. Header joists are the actual size of the Shed and are the components the joists hang from.
- Attach your header and end joists with 3 ½” Galvanized Nails or Treated Screws: Place the frame on top of your footing of choice and assure the sub-floor is square. Adjust the frame until you have equal distances reading on both tapes (Can be done with 1 tape measure).
- Joist spacing: With a pencil, layout your desired joist spacing either 12” or 16” on center along both of the header joists by pulling your tape measure from the same side on both header joists. With your square, transfer lines on the inner face of the header joists, then attach the correct size joist hanger by centering it on the line with the correct hanger nails for the face.
- Confirm joists are the same size: Once the frame is square, you can measure from header joist to header joist on both ends to confirm that your joists are the same size. Cut the desired number of joists to length and slide them into the joist hangers. Follow up by using 3” Galvanized nails to fill the remaining side nail holes in the hanger.
- Use ¾” T&G exterior plywood for your floor sheathing (Pressure-treated Plywood is also an option): Begin laying out your plywood so that your edges are falling halfway on the joists, laying out from one side to the other. Making sure your plywood joints are staggered and do not line up with the previous row, use 2 ½” nails or treated screws to fasten the sheathing to joists. Trim all the edges flush with the frame.
Using Patio Stones/Slabs
Tools- Digging tools, level, bucket, gravel, string, line level, stakes, hammer, marking paint, rubber mallet, stiff bristle broom.
Prepare the Site
- Measure the slope: It is best to install your shed on flat level ground. The first step in preparing your site is to determine if you need grading work. First, drive a stake at each end of the project area, and using a line level tie a mason’s string between the two stakes. At each stake, measure the height of the string from the ground. The difference between the measurements will give you the slope of the area; if the slope is greater than 1” you should re-grade the site.
- Dig a test hole: To evaluate the soil conditions dig a test hole to the planned depth. Sandy or loose soil may require amending and hard soil or clay will require extra effort during excavation.
Lay Out & Excavate the Site
- Lay out a rough outline: Using a rope or string, stakes and a carpenter's square (to set perpendicular lines), create a rough layout by driving wood stakes near each corner. Where possible use two stakes set back at least 1’ from each corner of the project area so the strings intersect at the corner.
- Use Mason’s String to define the project area: Connect the stake’s using the mason’s string to follow the actual project outlines. To ensure the strings are square use the 3-4-5 rule. You may need to adjust the location of the stakes and re-check the 3-4-5 rule. This can be a lengthy process, but it is very important to the success of the project.
- Calculate how many slabs you need: Divide the length of the area by the length of the paver, to arrive at the number of slabs to cover the length. Divide the width of the area by the width of the paver to arrive at the number of slabs to cover the width. Multiply the number of slabs for the width by the number of slabs for the length to find the total number of stones needed. We recommend buying extra slabs in case of damage during transport or installation.
- Start excavation: If you wish to reuse the sod, use a sod cutter and lay the sod in its new location as soon as possible. Otherwise use a square-end spade to cut away sod. Using a story pole as a guide will help to ensure that your depth is consistent across the string line, a straightedge and a level will help ensure that the center of your excavation is at the right depth. The depth of excavation needs to account for the compacted subbase and the thickness of your slabs. (For example if using 1” thick slabs, dig to 7” deep to accommodate the thickness of the slab and 6” for the gravel subbase). Ensure to tamp/compact the soil as you go and continue to check that base is level.
- Install subbase: Lay landscape fabric across the entire excavated area and then lay gravel base to fill the height less the thickness of your slab, again tamping/compacting as you go.
- Lay your paving slabs: Place your first patio slab and ensure it is snug to the corner of the excavated space Use a rubber mallet to gently tap the slab into place. Continue to lay your slabs leaving a gap in accordance with your jointing sand manufacturers’ recommendation.
- Fill the gaps: Follow manufacturer' instructions to spread jointing sand in joints of slabs to prevent slabs from shifting. Most manufacturers’ recommend dampening the entire foundation surface with water.
- Wait: Let foundation settle and harden for 24 hours before constructing your shed.

Visual Learner? We get it.
We get it. Turkstra TV is full of helpful videos to get you up and running on your next home improvement project.

Our Coaches have your back
Need help? Talk to our professional coaches - it's free.
Get preferred pricing & exclusive promos with Build-it-Better.
Receive exclusive, members-only discounts on select products each month! Sign Up for Free >
